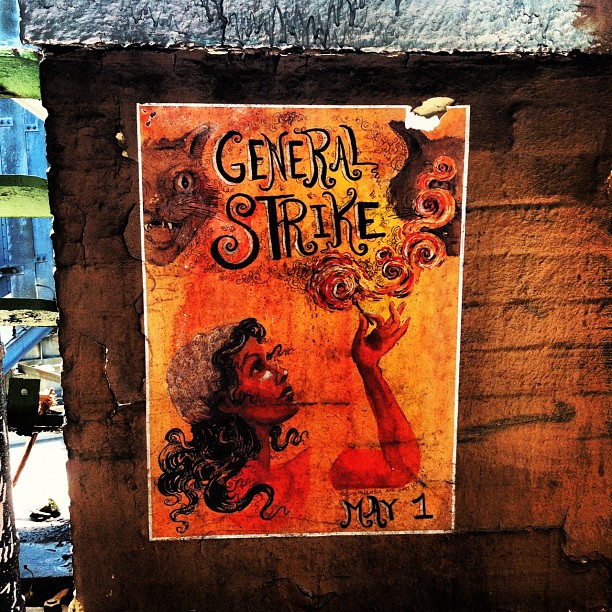
A Beginner’s Guide to Wheatpasting- Your New Favorite Street Art Method
Posted OnApril 26, 2017 by
Want to spread a message? Whether it is flyers advertising an upcoming march or a political poem or a cool sketch, wheatpasting is one of the easiest and best ways to get something seen by others.
What even is wheatpasting you ask? Good question, with a simple answer- it is a term that describes plastering posters to walls with (you guessed it) a paste made of wheat flour and water.
Why wheatpaste? Another good question, with a less simple answer- it depends. For some, it is a purely artistic exercise, a chance to share a creation with folks who are outside your usual circles, a chance to brighten up a cityscape with something beautiful. For others, it is a utilitarian mission to spread the word about an event or protest with straightforward posters. For me, the artistic and political often overlap- I want to promote an idea or an image with meaning that may not be about a specific event, or I may want to advertise a protest but do so in a beautiful, unique way.
So let’s address the last important question- how to wheatpaste.
Supplies: whole wheat flour, water, your art (if drawing by hand, use oil based markers, but you can also just print something out), scissors, a bucket, and a paintbrush
Steps:
- Measure out your wheat flour and water with a 1:4 ratio (ie 1 cup of wheat flour for every four cups of water)
- Boil the water
- Add in the flour and mix well- no clumps or little flour balls- until it looks like glue
- Pour your wheatpaste into your bucket, and you’re halfway there!
- Take the bucket, your brush, and your art to the spot or spots where you want to display it (concrete works well, but in general it should be a smooth, flat surface)
- Paint on a layer of paste to the surface
- Place your art on top
- Paint another generous layer of paste over top
- repeat steps 6-8 at all your spots if you have several pieces or a bunch of flyers
Now you’re done! Appreciate your work, and wheatpaste responsibly!
